One of the benefits of Zendesk is the way you can set up various business rules to automate your support process and make sure that nothing falls through the cracks. Triggers and Automations are the tools that you use to make all of this automation happen.
What's the difference? Triggers are action based while Auotomations are time based.
So if you want do something when a comment is added to ticket, when a tag is added or any other sort of field is set you would use a Trigger.
But if you want to do something 2 days after a ticket has been sitting open then you would use an Automation.
In this artilce I'm going to show you how to use Triggers and Automations help you while training a new support agent.
When you are getting a new agent up to speed you probably want to check in on them occasionally to make sure that they are responding appropriately to your customers. To help with this I am going to set up a Trigger that will notifiy me when this new agent closes a ticket. That way I can review the support interaction and give any necessary feedback to the new agent.
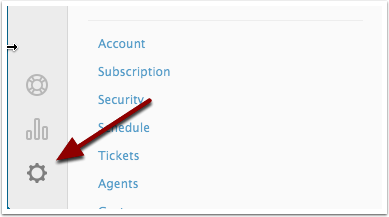
Go to Settings
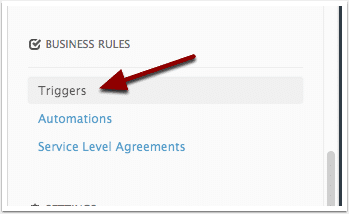
Go to Triggers
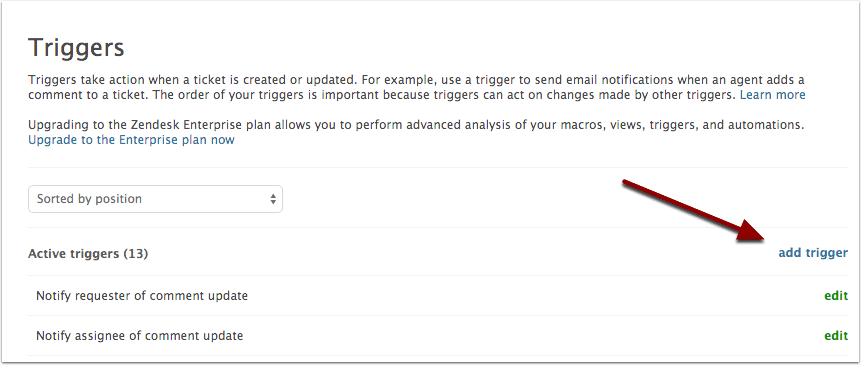
Select "add trigger"
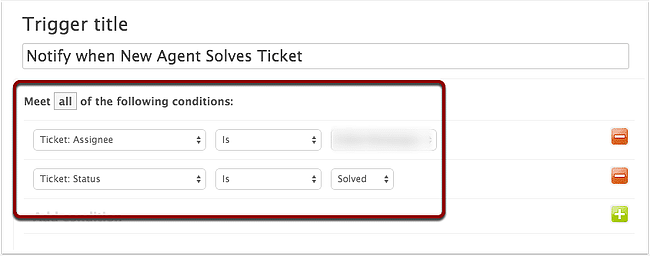
Add title and criteria
Add the following criteria. I have set the Assignee to the new agent and set the status to Solved. This way, when ever the agent solves a ticket the trigger will activate.
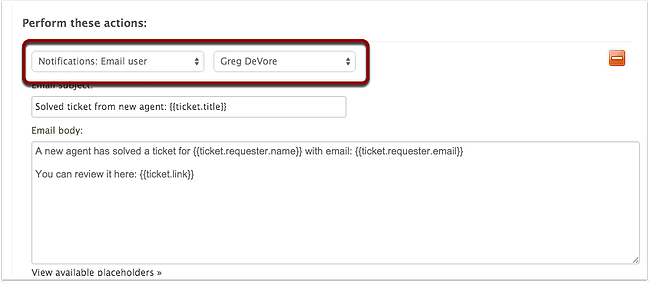
Add notifcation action
Now I set up what the trigger will actually do. In this case I am going to have it send me an email.
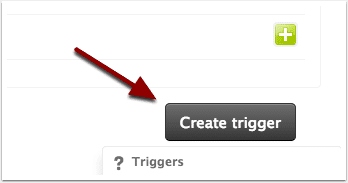
Select "Create trigger"
Once I have everything set up I can select Create trigger.
Next, we are going to create an Automation. This Automation is going to notify me if the new agent has left a ticket open for too long.
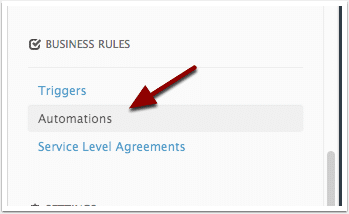
Go to Automations
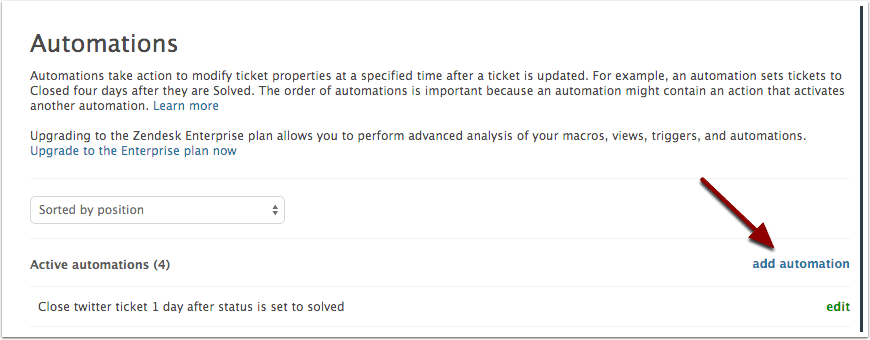
Select "add automation"
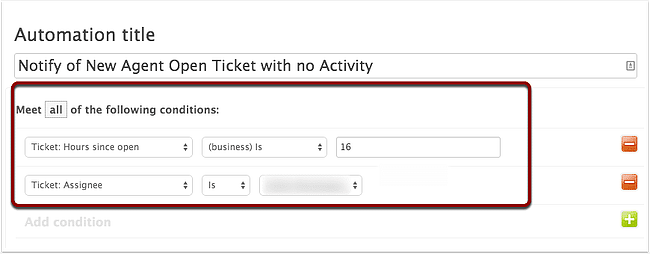
Add title and criteria
The criteria for this one will be Ticket: Hours since open. I have also filtered tickets by those assigned to the new agent. This rule will activate whenever a ticket that is assigned to the new agent has been open for more than 16 business hours.
Notice that the criteria says "(business) is ". This means that Zendesk will use my business hours to compute the time. Our support desk is not open on the weekends and I don't want to get notified of a ticket that is sitting open over the weekend.
Note: I can't set this to "Greater than" for the time filter. The reason for this is because the ticket could be open for more than 16 hours multiple times. Automations run every hour. If I set the filter to "Greater than" then I would get an email every hour. By setting the fitler to "(business ) is" I ensure that the Automation will run only once.
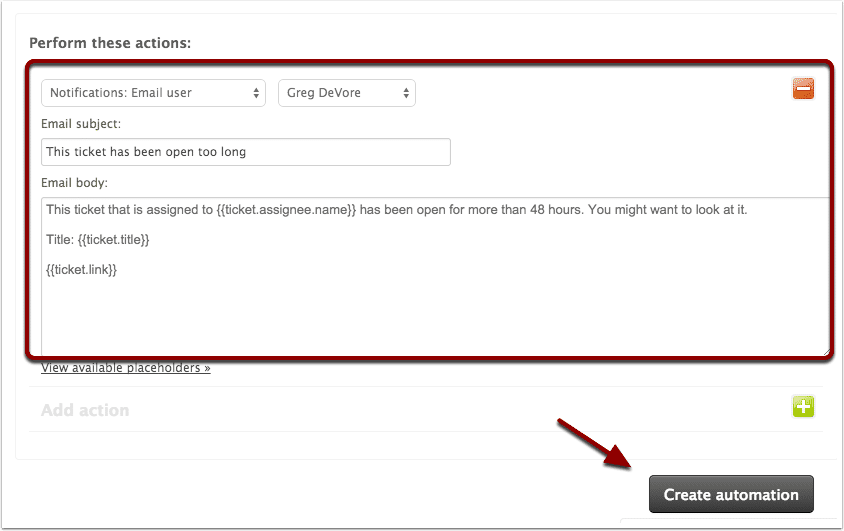
Add notification and create
Once again I am giong to send an email to myself. If I wanted to I could also assign the ticket to another agent, but in this case I am just going to review what is going on.
That's it
Hopefully this has given you some ideas about how you can use triggers and automations in your own.
business.